DIY Wood Stove Hearth and Stone Wall: How We Finally Warmed Up Our Basement
This was one of our bigger projects, and one we needed sooner rather than later.
Our basement is below grade with a walkout door on the south side. It’s a great place to be during hot summers, but our first winter down there was no fun. This was supposed to be the family room, the only room that really fit the TV and couches, so it had to be comfortable in every season.
The house came with forced-air heat and a small propane heater literally hanging on the wall. Its gas line ran along the bottom of the wall and straight out to a 50-gallon propane tank on the patio. With both running, it barely took the chill off. We were bundling up in winter coats and blankets just to watch a family movie.
Project at a glance
Time: the rock wall alone took a full week
Skill level: Intermediate to advanced. We hired a pro for the chimney.
Bonus: a heat source and cooktop when the power goes out
Free download: Planning a big project like this? Grab our free planner (budget, materials list, step order and timeline).
Free Bathroom Remodel Planner
7 printable pages: remodel order checklist, materials & tools list, budget tracker and more. Sent straight to your inbox.
Step 1: Order the stove and line up the chimney installer
First, we ordered our new stove from Kuma, our favorite wood stove maker, and had their recommended installer come out for a consult and estimate on the chimney. The stove took a few months to arrive, which gave us plenty of time to prep.
There was really only one spot for the stove and stovepipe: the southwest end of the basement, near the door.
Step 2: Bore through the foundation
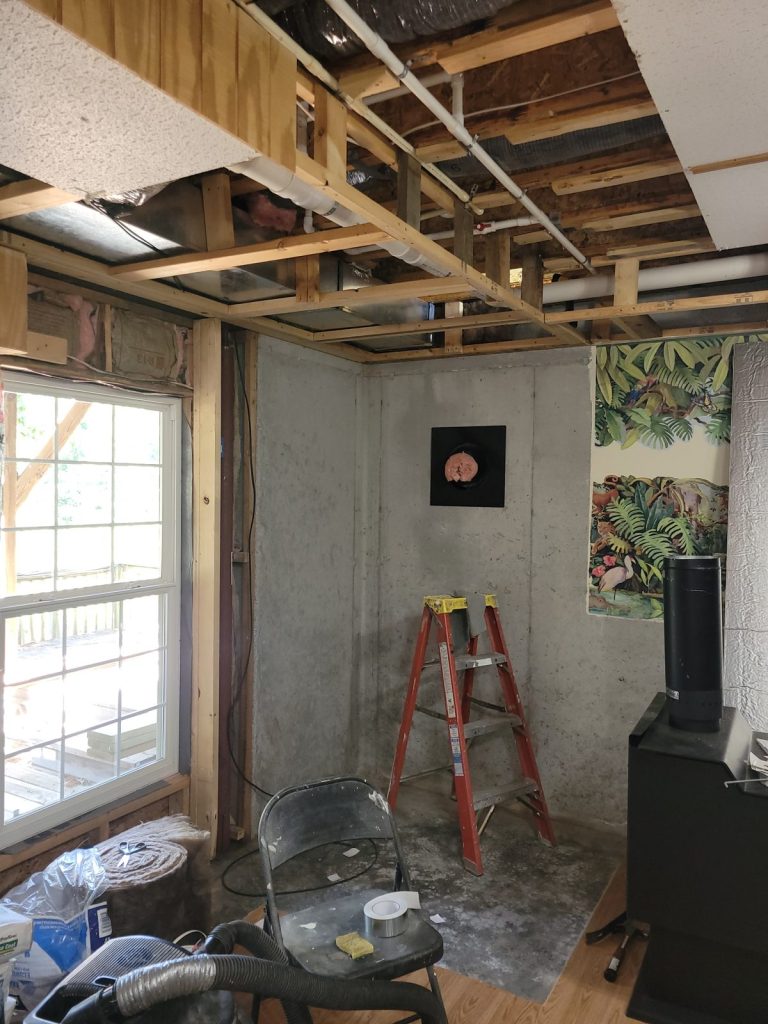
To run 26 feet of stovepipe up and out, I had to bore a 10-inch hole through the concrete foundation wall. It wasn’t the easiest job, but not the hardest either. After marking the spot, I used my compressor and a small pneumatic air chisel to slowly punch my way through. It took two days.
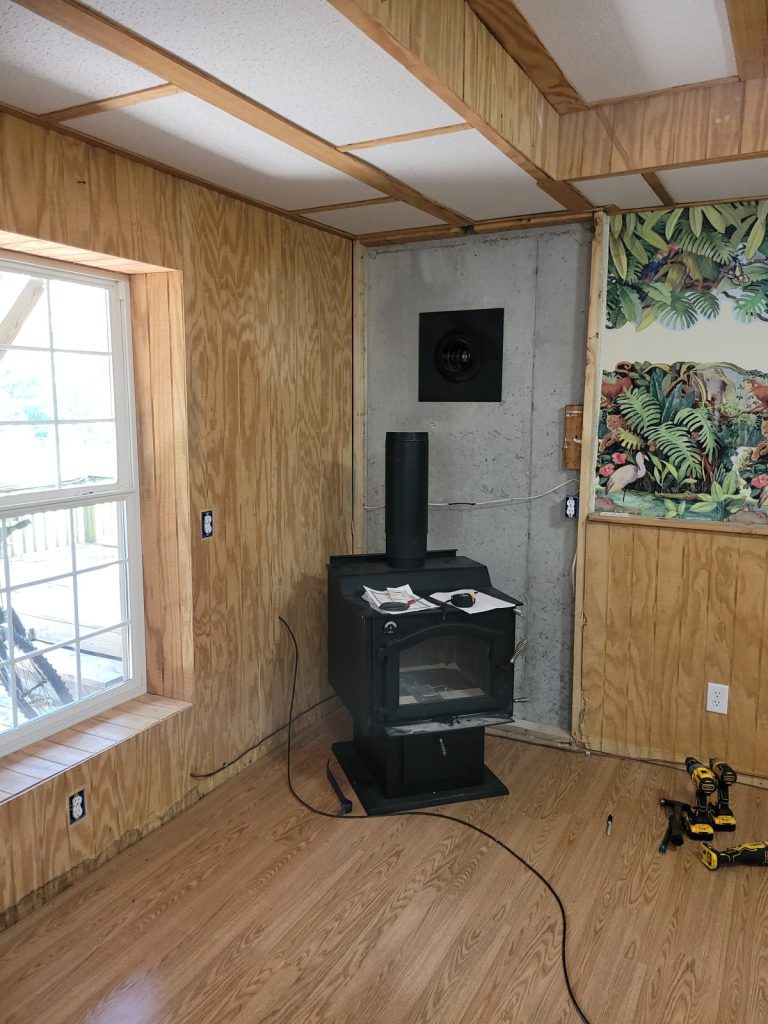
When the stove was ready, the installers picked it up, delivered it, and installed the stovepipe the same day. We mocked it up by sliding the stove back into the corner to make sure everything lined up.
Step 3: Tear out just one corner
The previous owners had built a makeshift half wall around the foundation, with full walls in the corners, and painted and wallpapered right onto the bare concrete in between. We weren’t impressed.
I wasn’t ready to renovate the whole basement yet, but we needed that stove in for winter heat and as a preparedness item if we lost power and needed to cook. So I tore out and finished only the corner where the stove would sit, and saved the rest of the basement for later.
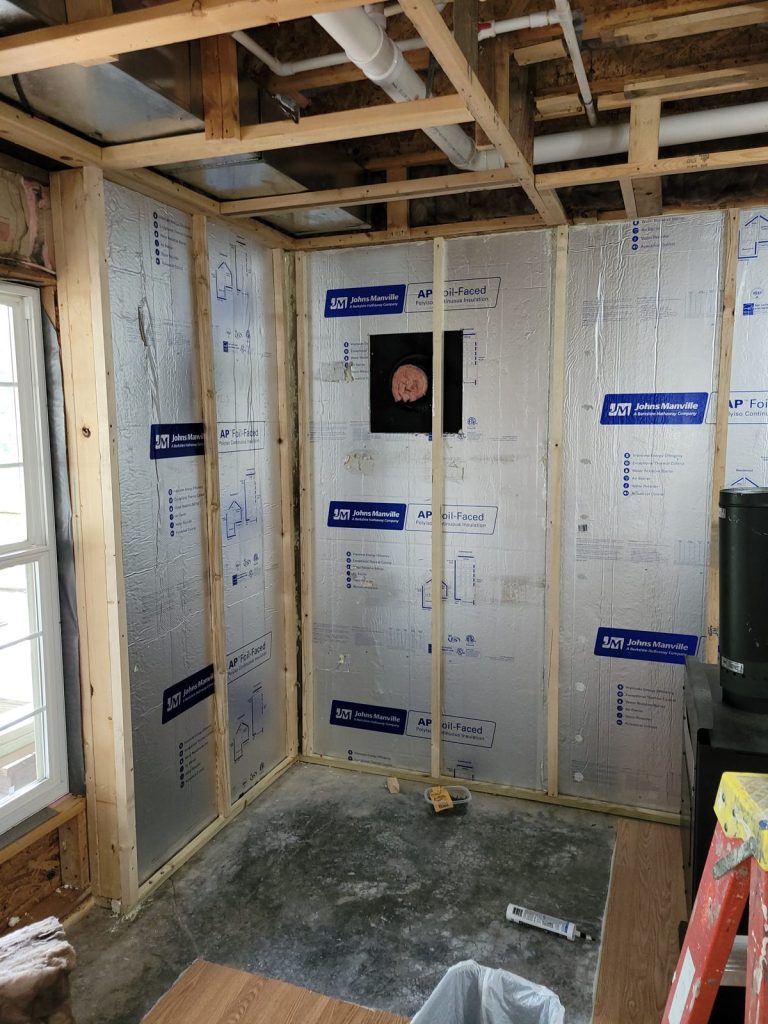
I removed the half wall and the wiring inside it, then pulled down the ceiling panels and the cheap trim covering their seams.
Step 4: Build a raised hearth platform
I wanted the stove up on a pedestal so we wouldn’t have to bend over as far to feed and clean it, and because it just looks better.
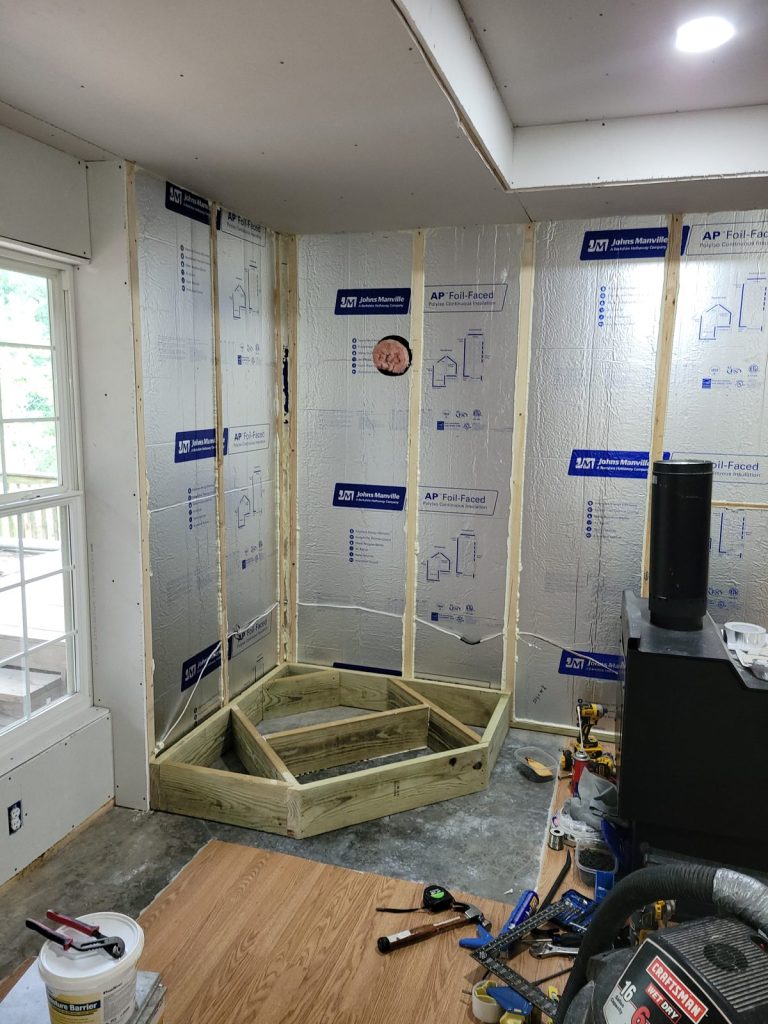
- I built the platform from treated 2x8s, fastened together and anchored securely to the floor.
- I ran wire for a couple of outlets on the far side of the stove.
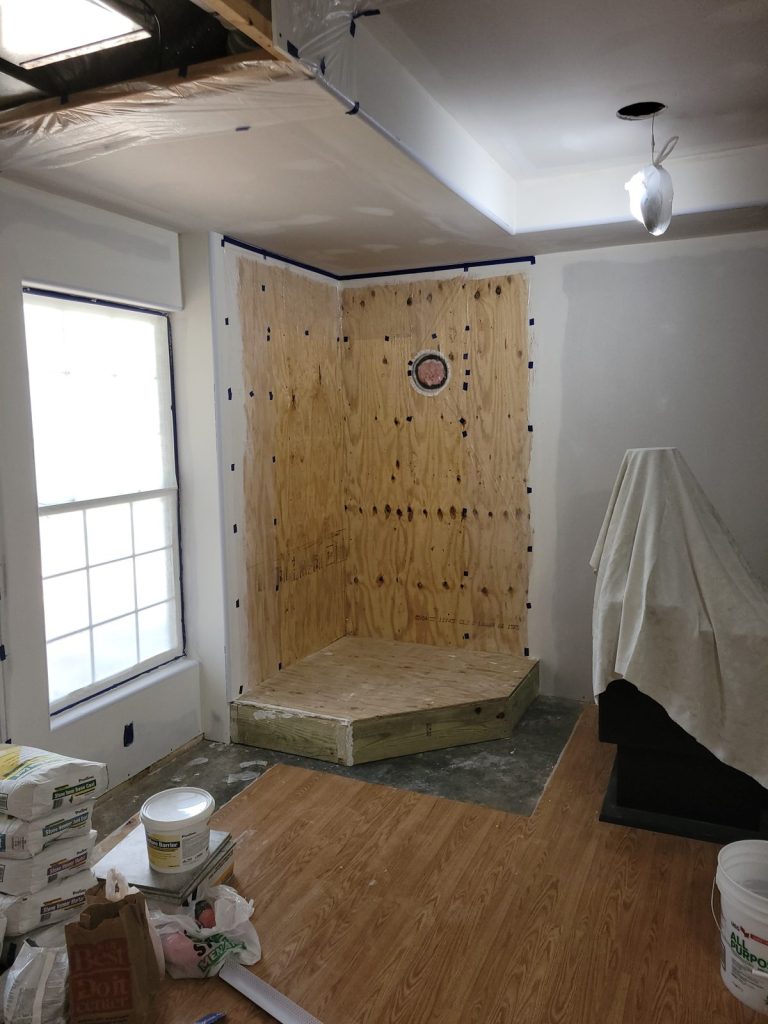
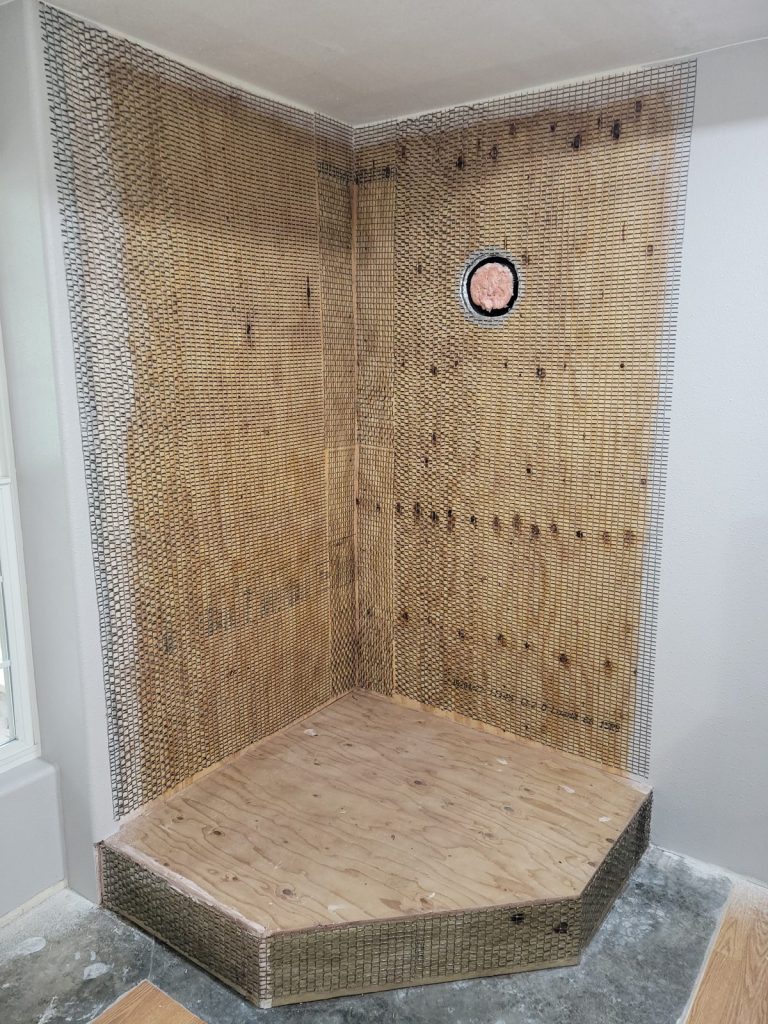
- I covered the top and outer edge of the platform, plus the wall behind the stove, with 5/8″ plywood.
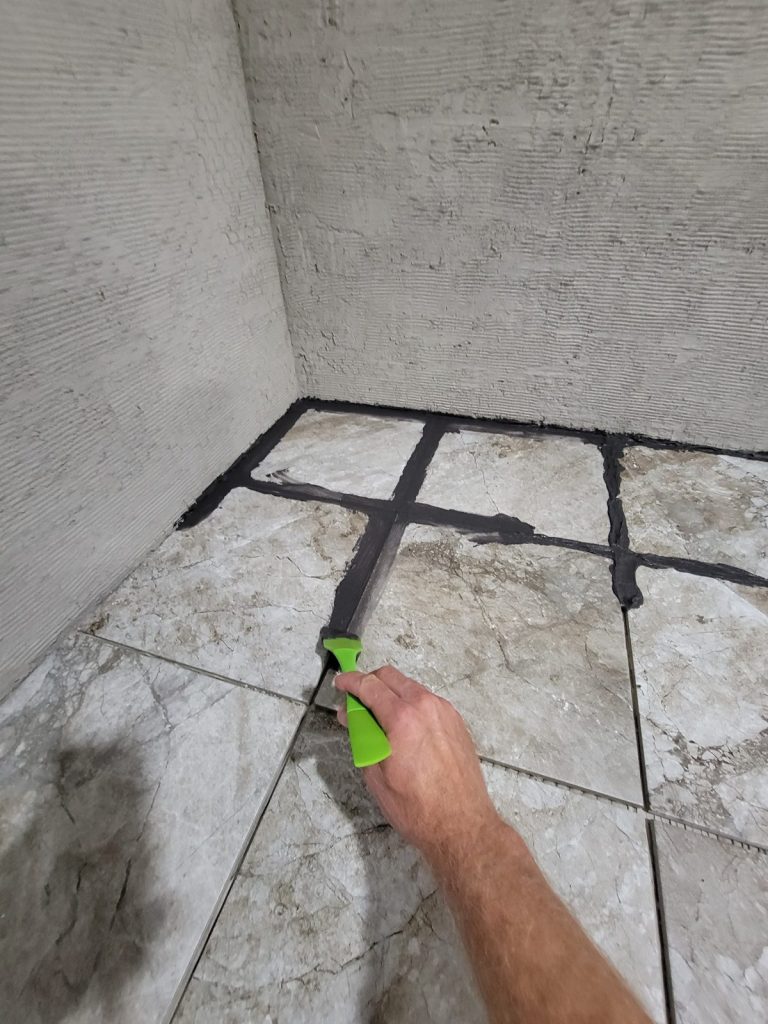
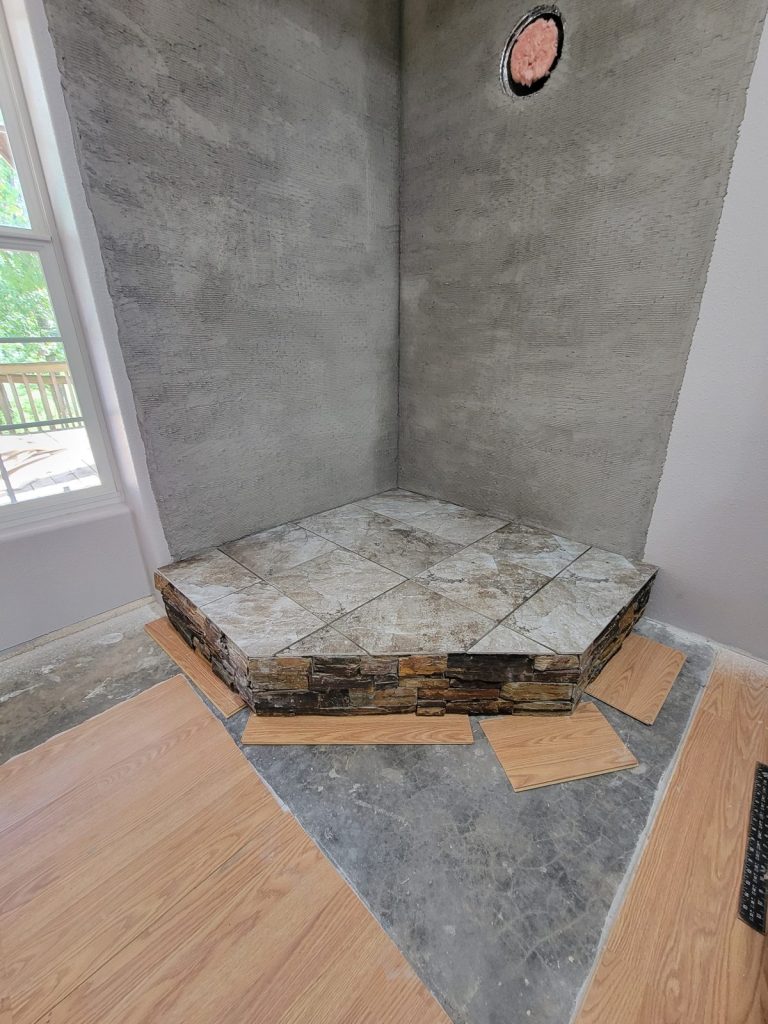
- We wanted the basement to be gray eventually, so I tiled the top of the platform in gray tile, then grouted and sealed it.
- I finished the drywall, tape, mud and paint on the ceiling above the stove and the walls on either side.
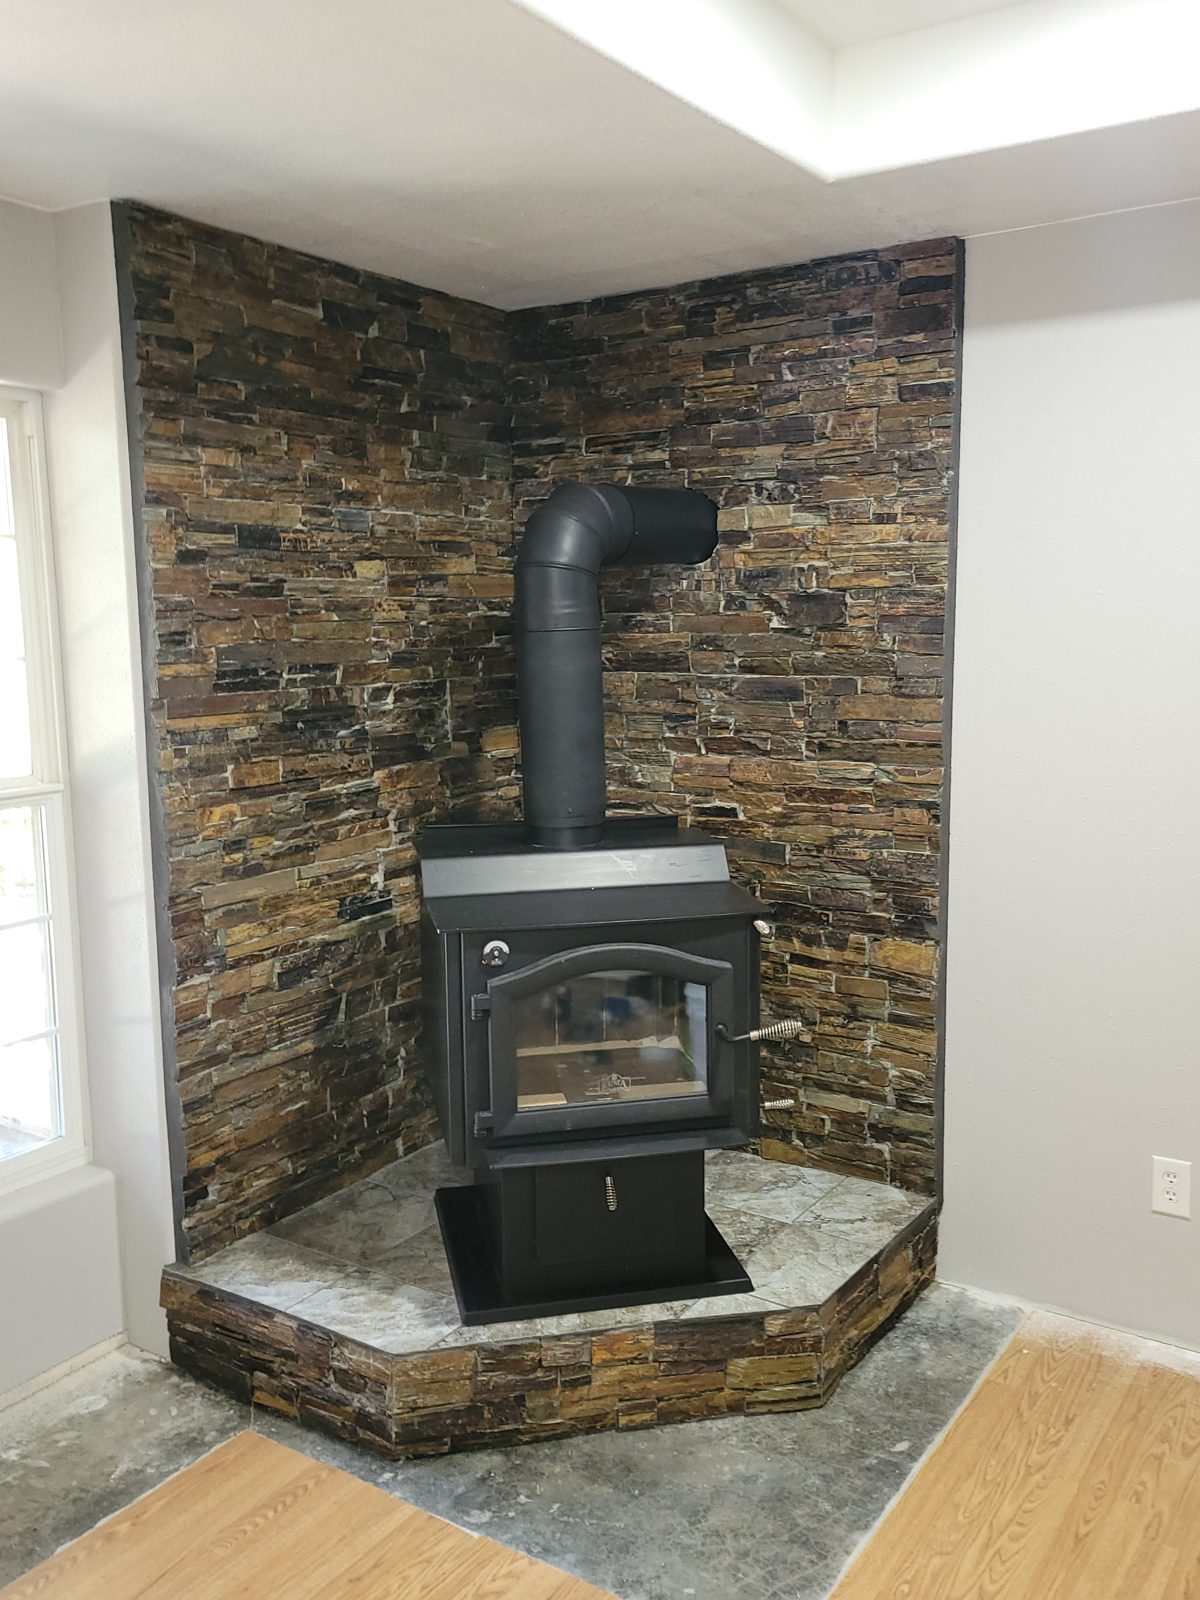
Step 5: Build the real stone wall
First, I stapled fiberglass mesh over the plywood on the back wall and the front face of the platform. It was a new product at the time and turned out to be very strong. Then I coated all the mesh with stone veneer mortar to give the rock a solid surface to grab.
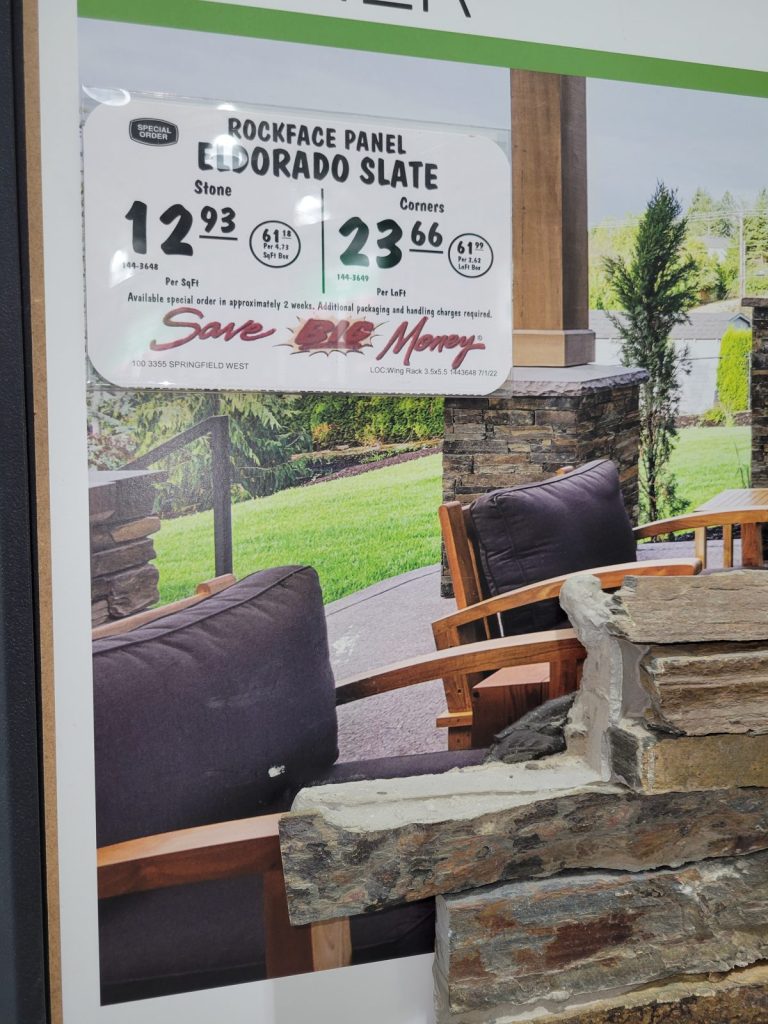
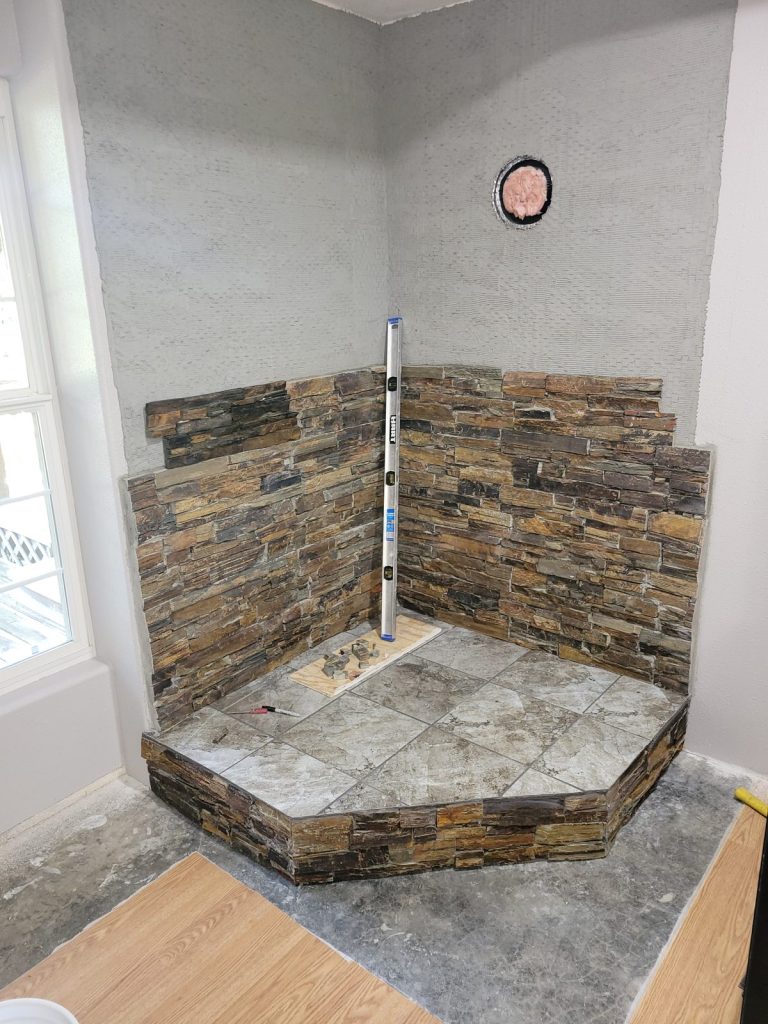
Then came the rock. This was real stone, so it was thick, heavy, strong and not perfectly even, which made it hard to cut on my little tile saw. It came in sheets, which helped, but it was still slow going to test fit, cut, clean and set each piece.
The trick that saved me: I set a limit of two rows of rock per day. It took a whole week for this small wall, but I was rested every day and the workmanship was better for it.
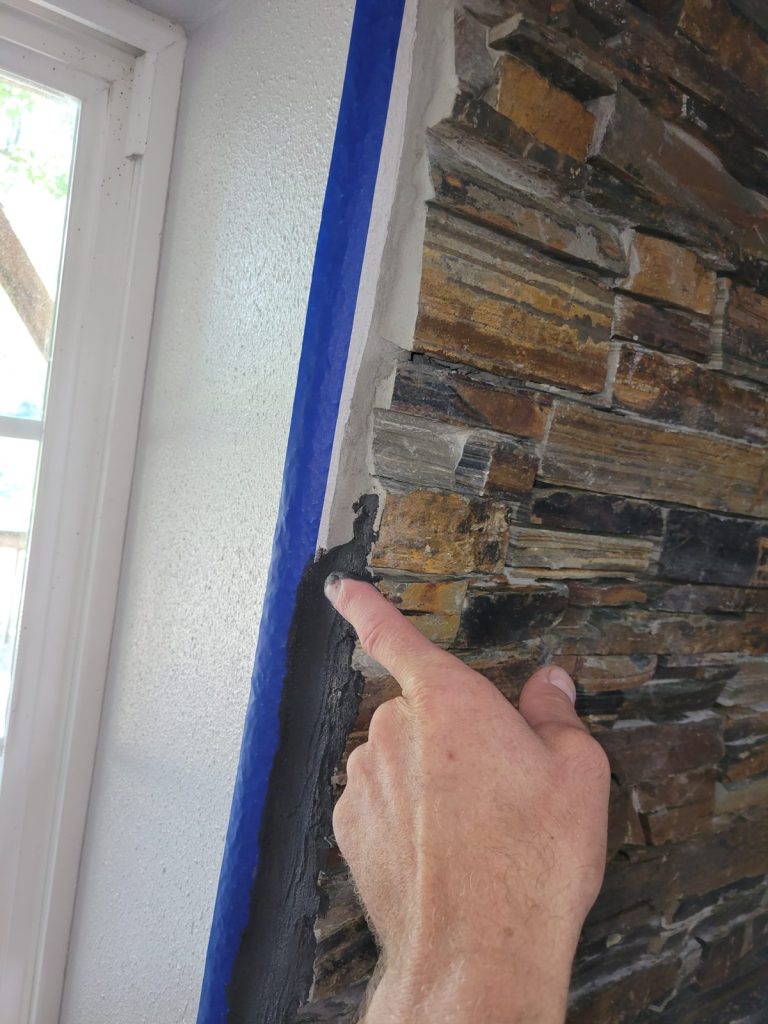
Once the main rock was up, I filled small gaps with little pieces of stone, mostly at the joints, so the wall looks like one solid piece. This rock didn’t need grout. I taped off the two side edges and used the same dark grout from the platform to frame the edges, which gave it a clean, finished look.
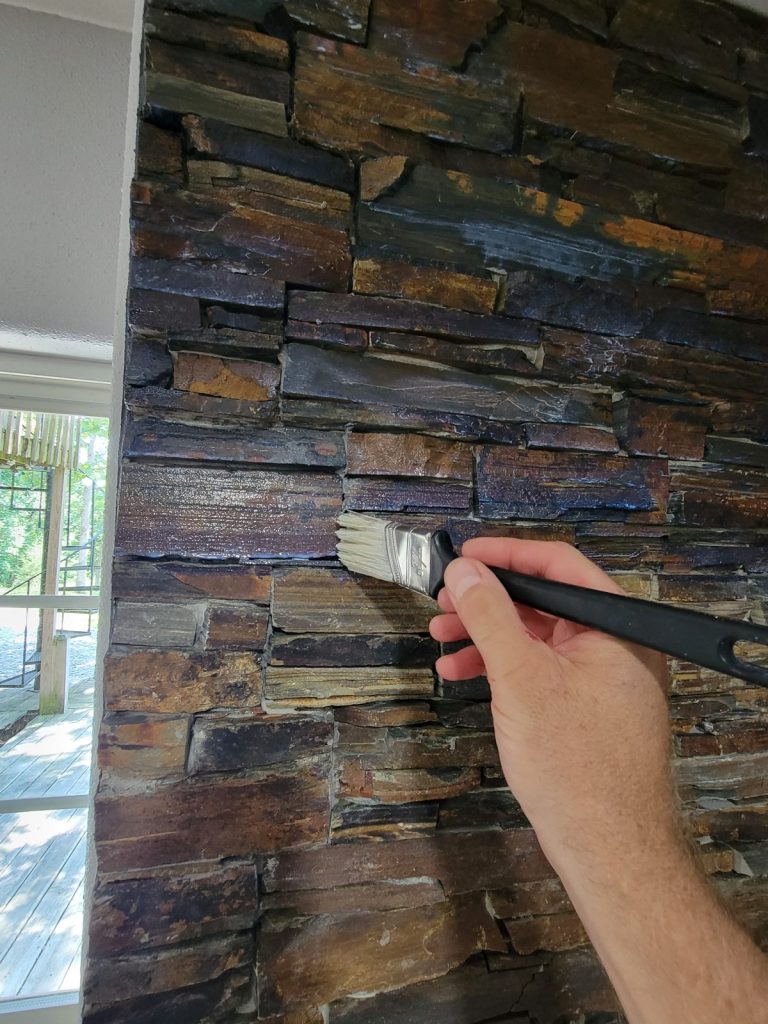
To finish, I sealed the rock with natural stone sealer, then gave it a coat of clear polyurethane. That made all the color and character in the stone pop.
Step 6: Set the stove
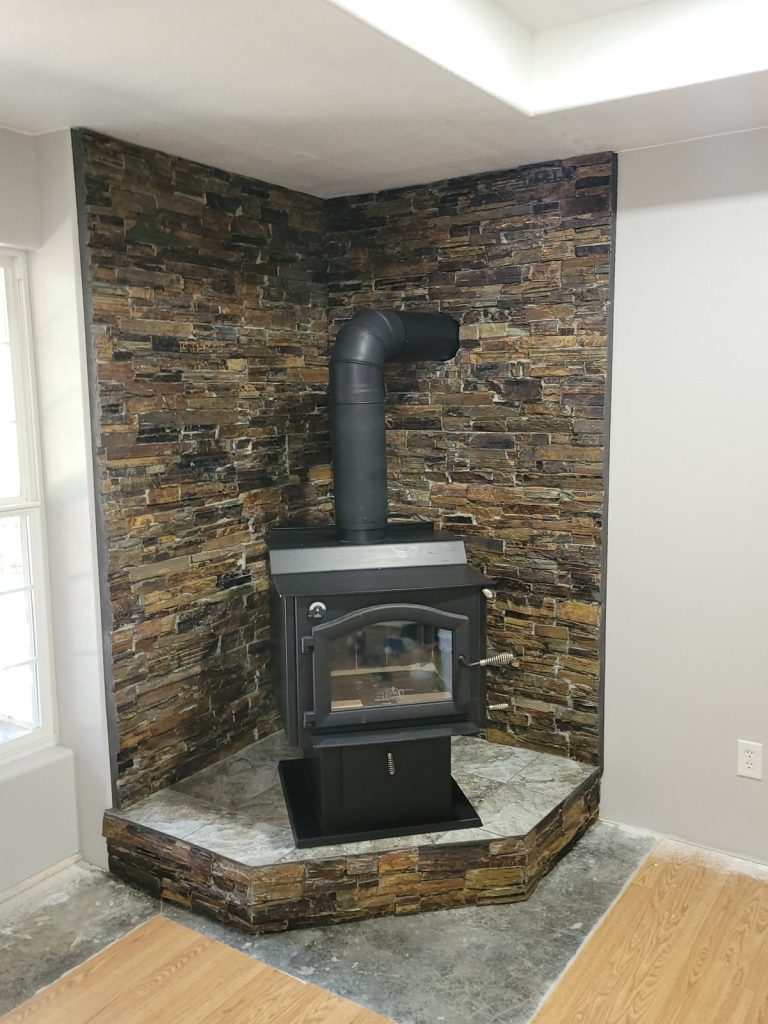
With the stove’s new home finished, four of us each took a corner of that heavy Kuma and lifted it onto the platform. I needed one more 18-inch section of double-wall stovepipe to make everything line up. Once that was in and the firebricks were arranged inside, it was ready to heat up the place.
And it did! It made all the difference in the world for the basement, and a lot of the heat travels up the stairwell to warm the main floor too.
Tools and materials we used
- Air compressor + pneumatic air chisel
- Treated 2×8 lumber + structural screws
- 5/8″ plywood
- Floor tile, thinset, dark grout + grout sealer
- Fiberglass mesh + staple gun
- Stone veneer mortar
- Natural stone panels
- Tile saw (wet saw)
- Natural stone sealer + clear polyurethane
- Double-wall stovepipe section
Some links are affiliate links. If you buy through them we may earn a small commission at no extra cost to you.
Wood stove hearth FAQ
Why raise a wood stove on a platform?
A raised hearth means less bending to load and clean the stove, and it makes the stove a focal point.
Can you install real stone behind a wood stove yourself?
Yes. Mesh and stone veneer mortar over a solid backing gives the stone something to bond to. Always follow your stove’s required clearances to combustibles in the owner’s manual.
Did you install the chimney yourselves?
No. We prepped the room and bored the foundation hole, and a certified installer handled the stovepipe and chimney. We recommend that for most families.
Don’t forget your free planner!
Free Bathroom Remodel Planner
7 printable pages: remodel order checklist, materials & tools list, budget tracker and more. Sent straight to your inbox.